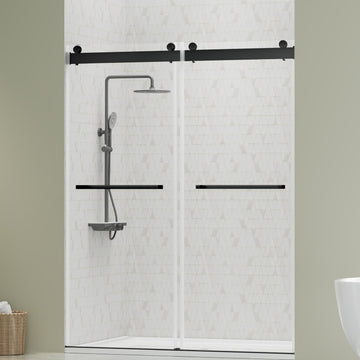
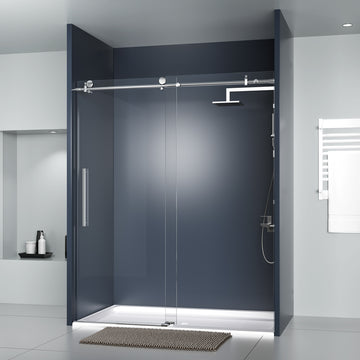
How to Install Sliding Glass Shower Doors?
Introduction
A sliding glass shower door is a perfect addition to any bathroom, especially if you have limited space. It can give your bathroom a sleek and modern look while also providing easy access to your shower. And indeed, installing a sliding shower door isn't as complicated as it may seem. With the right tools and some basic knowledge, you can install it in no time. This guide will take you through all the necessary steps to help you achieve this task with ease.
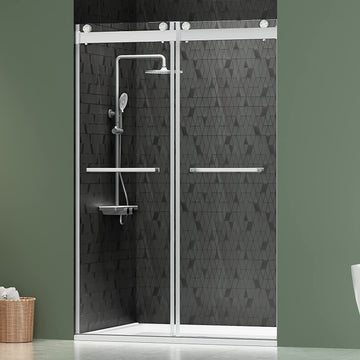
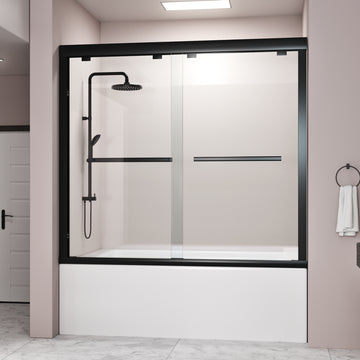
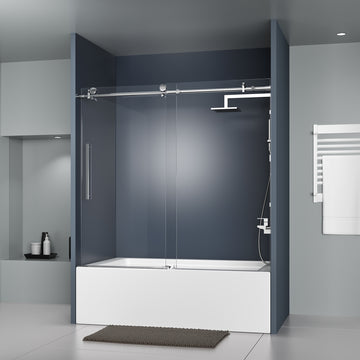
Step-by-Step Guide
Plan ahead
Before you install the sliding glass shower doors, it is important to plan ahead. Measure the opening of your shower and gather all your tools and supplies before you begin. This will save your time and ensure that you have everything you need.
Tools Needed

Measure the opening of your shower
Measure the width of the shower opening in at least three places - threshold, up to 5 feet, and halfway in between. These numbers will help you find the necessary dimensions for each of the door rails.
Please note the distance between the shower opening and nearby plumbing fixtures such as the toilet or sink to ensure sufficient clearance.
Record the shower stall's measurements on a separate sheet of paper so that you can refer to them if needed.
Install the base track
Cut the Base Track : Cut the base track to the appropriate length. Measure the length of the shower threshold, then use a hacksaw to cut the base track to fit perfectly between the stall walls.
Use a metal file to smooth the cut end, and be sure to vacuum up any stray metal shavings immediately so as to keep them from leaving scratches on the bathroom floor.
Position the Bottom Track: Place the bottom track on the shower floor where you want it to be installed. Ensure it is centered and aligned properly with the shower opening. Use a level to check that the track is perfectly horizontal.

Mark the Screw Hole: Once the bottom track is in the correct position, mark the locations of the screw holes on the shower floor. Use a pencil to mark the pre-drilled holes in the bottom track.
Drill Pilot Holes: Carefully drill pilot holes at the marked locations. If your shower floor is made of tile or stone, use a masonry drill bit to drill through the hard surface. If it's a fiberglass or acrylic shower pan, use a standard drill bit. Depending on the material of your shower floor and the bottom track's design, you may need to use anchors for additional support. If the kit includes anchors, insert them into the pilot holes.
Attach the Bottom Track: Carefully place the bottom track back in position on the shower floor. Ensure that the pre-drilled holes in the track align with the pilot holes you drilled. If you're using anchors, make sure they are inserted through the holes in the track.
Secure the Bottom Track: Use screws provided with the sliding glass shower door kit to secure the bottom track to the shower floor. If you're using anchors, make sure the screws go through the bottom track and into the anchors for a secure hold.
Check for Level and Alignment: After the bottom track is installed, double-check its level and alignment with the shower walls. Use a level to verify that the track is perfectly horizontal and that it follows the contour of the shower opening.
Caulk Seams (if needed): Depending on the design of the bottom track and the shower enclosure, you may need to apply silicone caulk along the seams where the track meets the shower floor. This will help prevent water leakage.

Install the Side Jambs
Position the side jambs vertically along the shower walls. Use a level to ensure they are plumb (perfectly vertical). Measure the height of the shower area and mark the screw hole locations with a pencil. Drill pilot holes and attach the side jambs to the walls using screws and anchors.
Set Up the Header
Measure and Cut: Measure the width of the shower opening at the top. The header should be as long as the shower opening's width. If your kit comes with a header that is longer than needed, you may need to cut it to the appropriate size. Use a hacksaw to cut the header to the correct length.
Positioning the Header: Hold the header in place above the shower opening, aligning it with the side tracks. Use a level to check for evenness. If the walls are not perfectly level, adjust the header position so that it matches the contour of the shower opening.
Marking Screw Holes: Once the header is in the correct position, mark the locations of the screw holes on the wall. Depending on the design, there may be pre-drilled holes in the header itself, or you may need to create them.
Drill Pilot Holes: Using an appropriate drill bit, drill pilot holes at the marked locations on the wall. These holes will serve as guides for inserting the screws. If the wall material is not strong enough to hold the screws securely, install wall anchors into the pilot holes. These anchors provide extra support for the screws.
Secure the Header: Carefully place the header back on top of the enclosure walls, aligning the screw holes with the pilot holes or anchors. Insert the screws through the header and into the pilot holes or anchors. Use a screwdriver to tighten the screws. Please make sure the header is firmly and securely attached to the walls.
Check for Level and Alignment: Once the header is secured, double-check its level and alignment with the side tracks. Make any necessary adjustments to ensure that the top track is straight and parallel to the side tracks.

Hang the Glass Sliding Shower Door
Before hanging the door, ensure that the sliding glass door panels are fully assembled and ready for installation. If the panels come with separate hanger brackets or rollers, make sure you have all the necessary components.
Attach Hanger Brackets to the Door Panels: On the top of each door panel, there should be pre-drilled holes or slots to accommodate the hanger brackets. Line up the hanger brackets with these holes/slots, making sure they are aligned properly on both sides of the door panel.
Secure the Hanger Brackets: Once the hanger brackets are correctly positioned, use screws provided with the sliding glass door kit to secure them to the top of each door panel. Ensure the screws are tight, but avoid over-tightening, as it may damage the glass.
Attach the Rollers to the Hanging Brackets: With the hanger brackets now securely in place on the top of the door panels, it's time to attach the rollers. The rollers are typically attached to the hanger brackets using screws or bolts. Follow the manufacturer's instructions to ensure proper installation.
Check Roller Alignment: Once the rollers are attached, check that they are aligned correctly and that the door panels are level. You can adjust the position of the rollers slightly, if necessary, to achieve proper alignment.

Mount the Doors from the Header Rail: Ask for the other person to assist you in lifting and mounting the door panels. Carefully lift each door panel and place the rollers into the header rail's track. Slide the door panels from the outside of the shower toward the inside until they are fully seated in the header rail. After both door panels are mounted on the header rail, test the sliding motion by opening and closing the doors a few times. Ensure they slide smoothly along the track and that they do not wobble or bind.
Adjust the Rollers (if needed): If the doors aren't moving the way they're supposed to, remove and reposition them until you get the alignment right. Some sliding glass shower door kits come with adjustment screws or mechanisms on the rollers that allow you to fine-tune the door's position. Consult the manufacturer's instructions for the specific adjustment process.
Final Checks: Once the doors are installed and adjusted properly, perform a final check of the entire assembly, including the side tracks, bottom track, and door seals. Make sure everything is secure and operating smoothly.

Clean Up and Finish
After installation is complete, clean up the shower area by removing debris or excess sealant. Add finishing touches if needed and your frameless shower door is ready to function.
